

How to Age Paper for an Antique Look
- Feb 7, 2023
- 4 min read
So over the course of this last week, I found myself doing something I haven't done since my teaching days.... Aging paper to give it an antique look!

The first time I did this was a few years ago and my co-teacher and I wanted to make realistic looking pirate maps and clues for a treasure hunt, and the aged paper was the perfect touch!


The next time I made some antique looking paper was also for the classroom.... making ancient Egyptian hieroglyphics!

Both activities were a HUGE hit! So this week when I was aging paper (to go in to the dragon eye notebooks I make) I thought it would be fun to document the process and write about how to this fun craft!
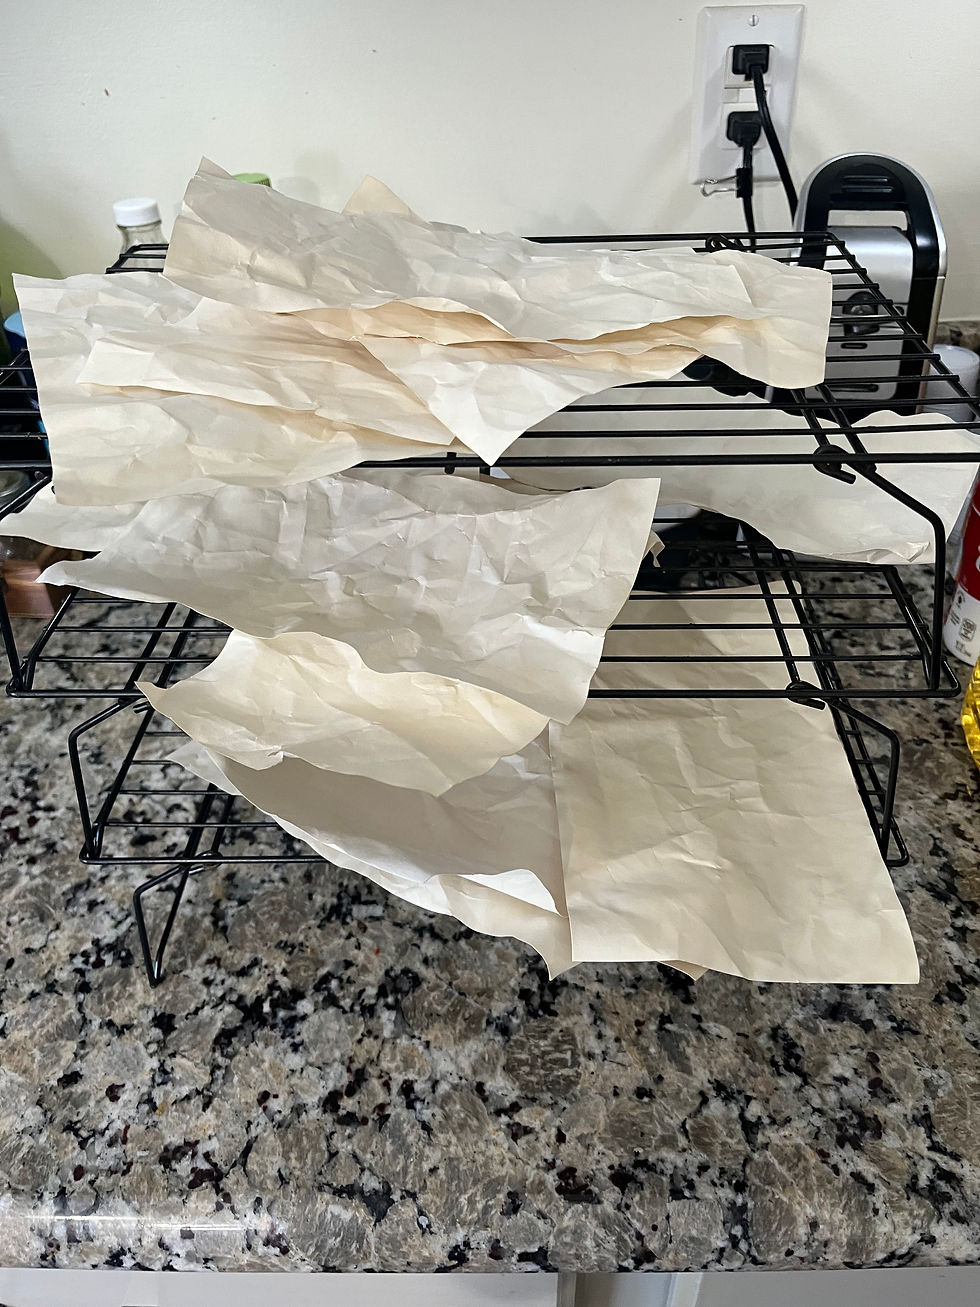
First step is to get all the paper you want to use ready and lay them out. You can tear the edges if you want or just crumple them up a little bit, up to you! After that you want to make sure the papers are spread out and not overlapping, and have them on something that can absorb liquid/get messy.

I just covered the table in plastic, nothing fancy.
The next step is the part that can get messy (but smells great).... Coating the paper in coffee! I used a toasted coconut coffee blend, but once the process is complete you can't smell it anymore so it really doesn't matter what kind of coffee you use! Some people use tea bags instead of coffee, but I've found that with tea bags the paper never gets dark enough.
In the past I actually have just dipped the paper right into a bowl of coffee, but I wanted to find a more efficient way this time since I would be making more than just few pages. I added the coffee into a spray bottle and sprayed the coffee right onto the papers and it actually worked pretty well!

You want to put a good amount on each paper, no dry spots left! The wrinkles in the paper tend to gather more coffee so it helps make parts of the paper a little darker, which can be a nice effect! After I sprayed down the front side of the papers, I flipped them over and sprayed the backs!
After all the paper was soaked with coffee, it was time to bake them! The temperature for the oven should be pretty low, I started at 200 degrees but ended up raising it to 250 because it seemed to take too long at 200. But you could probably do 300 or 350 as well, I just couldn't remember what temperature I used when I did it in the past. At 300/350 degree you'd probably only need the paper to be in there for about 5 minutes, so you have to keep a careful eye on it! You don't want any damp parts on the papers by the time you take them out of the oven. The baking helps continue the darkening process of the paper and gives it a nice crisp texture, but I've also seen some people use blow driers instead of the oven, but I've never tried that method because I don't own a blow drier!
The paper should be tinted a cream-ish color after the baking step. But they still need a little more heat after that! In the past I just used a lighter and burned the edges, but that's pretty messy and its easy to catch the paper on fire that way. This time I used one of my sisters camping heater/stove type thing and that made the process so much easier!
Catching the paper on fire is still bound to happen during this step, so be prepared for that just in case! We had a flame resistant mat we used when we did have corners catch on fire.
This burning step also depends on how dark you want the papers to be and how worn you want the edges to look! If you just want paper that's slightly tinted then this step may not be necessary, but I feel like this is the step that really gives the paper that aged look. If you're making aged paper for activities to do with kids, I would definitely say include the burned edges and make the paper nice and brown! Every time I've done this as a teacher the kids wanted some of the paper to just keep and take home! But if you're making the paper for something like a journal, like I was this time, maybe a little less dark would be better. I wanted to make sure the paper could be written on in pencil and be seen, and not have holes all over the page, so I tried keeping some of the papers a little lighter, but I still did some darker edges! I also flattened out the papers afterwards so that they could fit better in a notebook and not take up so much space. I think it'll be a cool option to include with the dragon eye notebooks on my Etsy shop!

I'm also working on finding some different ways of binding these notebooks that fits better with the antique paper.... I haven't found a way yet that I'm happy with, but I'll keep working on that... If anyone has any ideas or suggestions for that comment or message me!


Comments